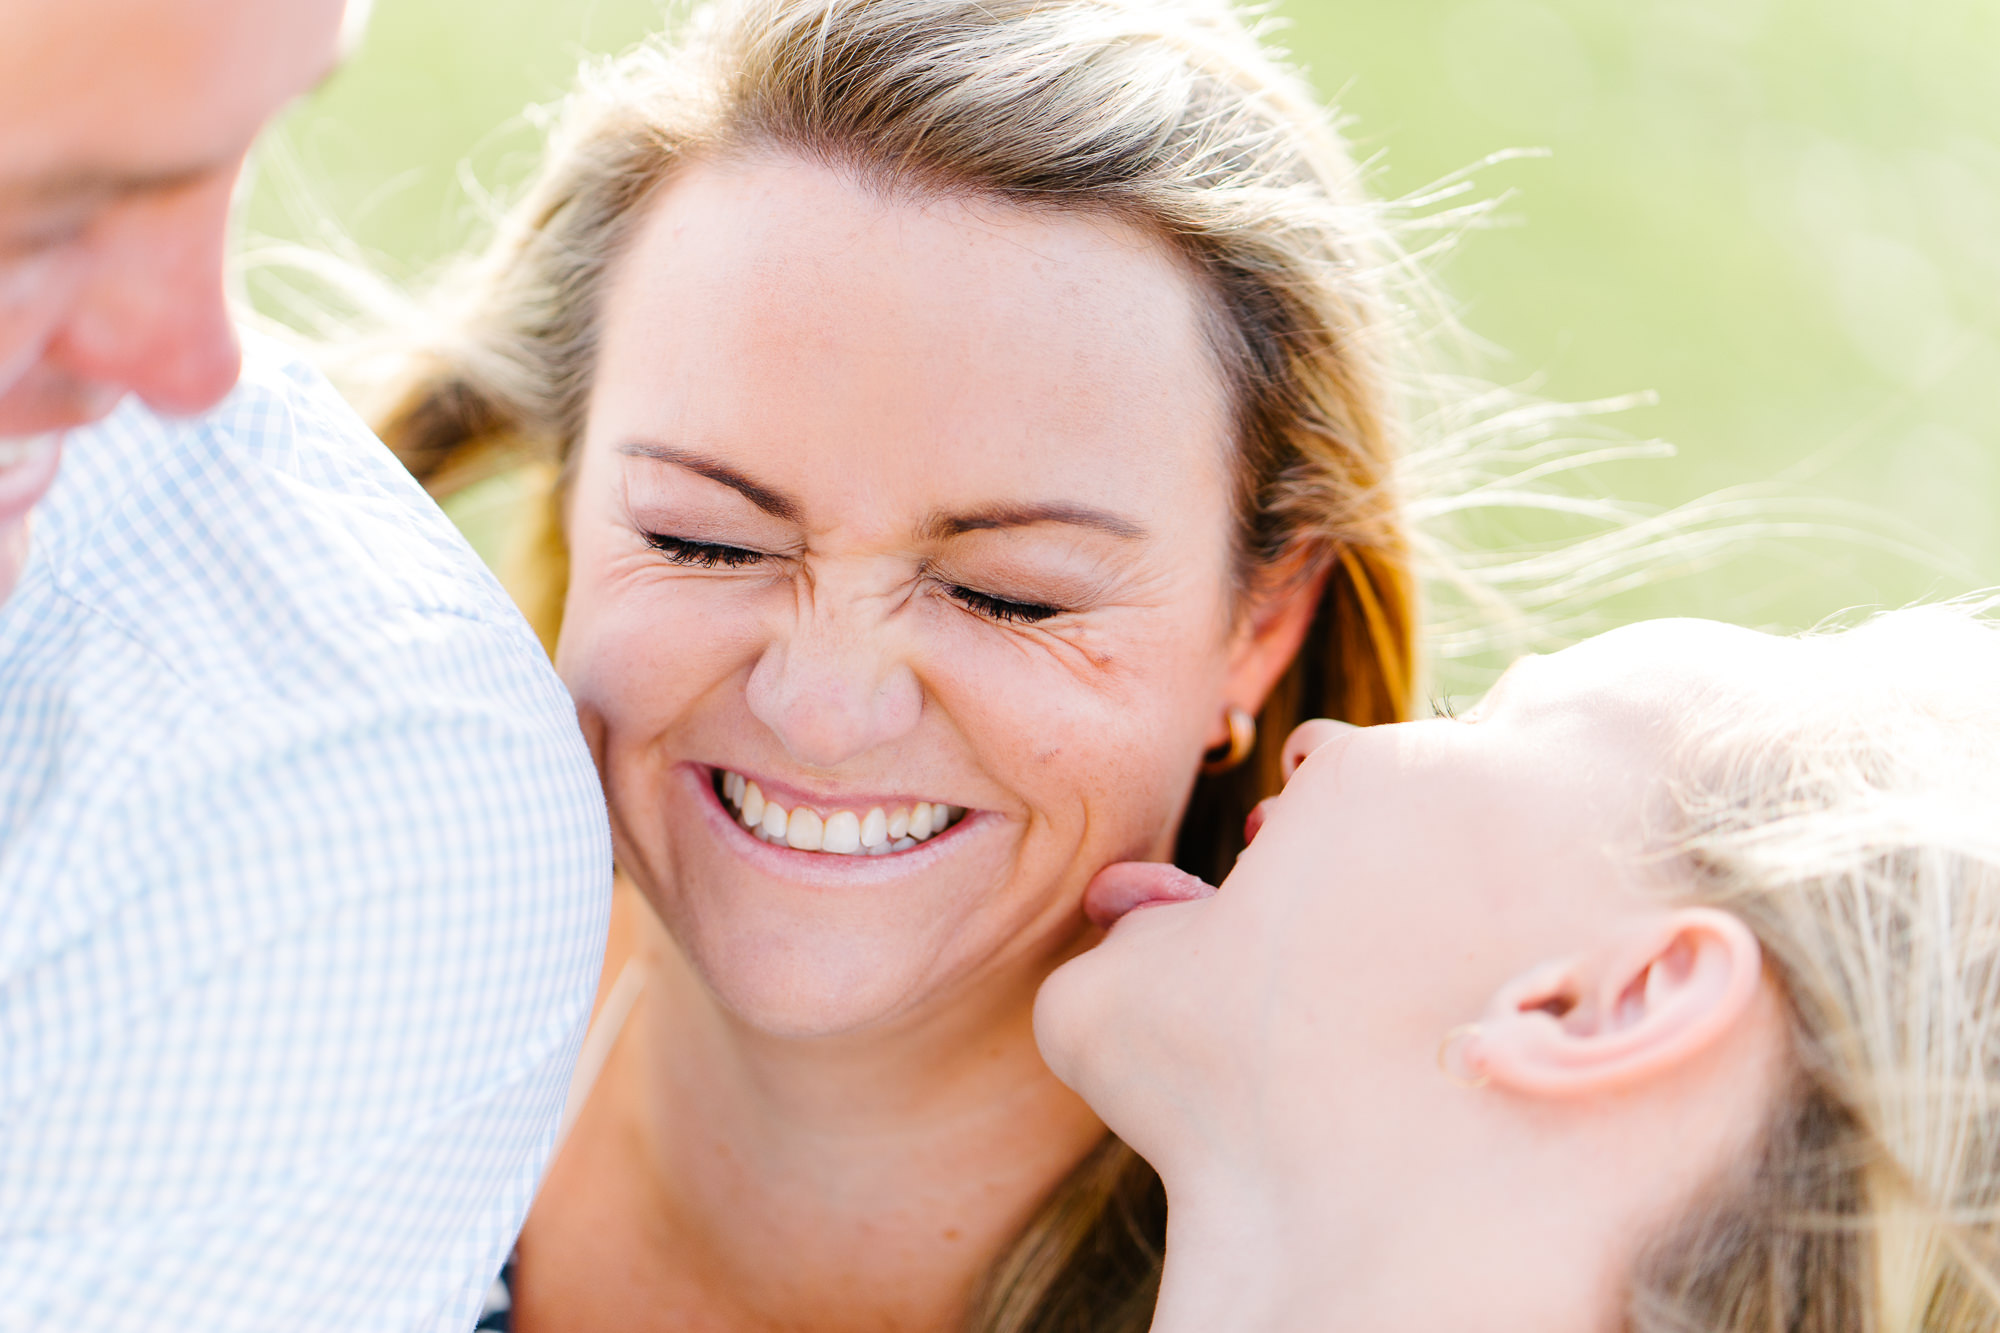
It’s the moment your photography will start to become seriously good. Learning the basics of using natural light is the first step towards becoming a better photographer. Understanding how to really use it to your advantage though will take your photography to the next level. The moment I started to really understand natural light and how to use it, was the moment my photography skills started to really take off. Here are 5 awesome tips you may not have known that really helped me while learning the art of natural light photography.
1. Know the back of your hand
Natural light can be tricky, especially when you’re not exactly sure where it’s coming from. I know you’re probably thinking “What? How wouldn’t you know what direction it’s coming from?”, but there are scenarios where it can be a bit tricky to tell.
Next time you find yourself in this situation try placing your hand out in front of you, kind of like the final position of a karate chop (sorry… only way I could think how to describe it). When you do this you can then check either side of your hand to see which side the light is falling on to and which side is shaded. once you’ve worked out which side the light is hitting that’s the way you should face your subject.
It really is one of the best tricks I’ve learnt and I use it all the time. give it a try now and you’ll see what I mean.
2. Colour spill of the worst kind
Colour spill is one of the worst things that can happen when photographing people… well maybe not the worst, but it’s not great.
Colour spill is when the colour of something in the environment you are photographing in is being reflected on to the person, or people you are taking photos of. This is pretty difficult to remove after the fact, so it’s best you try and avoid it in the first place.
You need to be conscious of what’s behind you. For example – you may be out the front of your house on the driveway trying to get a nice backlit pic of the kids and not realise that the sun is blasting on to your bright red garage door behind you giving a nice red tinge to all your photos.
Colour spill is generally caused by large surfaces in full sun that are a single bright colour like open grass areas, or large walls.
3. Natural reflectors
Using a reflector is a great way to minimise harsh shadows but you may not always have one with you, so keep an eye out for things that you can use to help you out. Light concrete, sand, sidewalks, light coloured, or white walls are great natural reflectors that will help with creating a nice even light on your subject.
4. Wear white
following on from point 3 another great little tip is to wear a white shirt when photographing people. Every little bit helps, and since most of the time when you are photographing people they are looking at you. Wearing a white shirt will help bounce that little bit more light on to their faces that you might just need to even up the shadows. If you’re a slightly larger person – then even better, it’s just more light to bounce.
Wearing black or dark colours is just sucking the light out of the environment that you want to be bringing more light in to, so always be conscious of the shirt you’re putting on and make sure it’s a nice light one… unless your photographing a wedding… aaand it’s the middle of summer. I made that mistake once and never will again. That is one of the times it is preferable that you wear darker colour clothing. Story for another time though I reckon.
5. Spot metering
I have mentioned Spot metering in another post about the different metering modes here, but I’ll just recap this part for your convenience here.
If you’re wanting to achieve that nice backlight that you see in a lot of photos, but the exposure on your faces is a little too dark, you can try a few different things… 1. Try using a reflector – this is great if you have one you like to carry around with you, or you photograph portrait sessions, so have it on hand for them. You can 2. Use a flash – This is hard to achieve a natural looking photo unless you really understand what you are doing with flash… or you can 3. use the spot metering option on your camera.
If you are not familiar with what spot metering is, it’s that little square looking symbol with a dot in the middle and it reads what the exposure should be for a specific spot in your framing – either the selected single focus point you’re using (if that’s how your camera focus is set up), or it reads it from the center of frame. It will depend on what camera you’re using as to how it utilises spot metering. Click here to understand more about different exposure metering modes.
I use spot metering for all of my portrait work to ensure that I’m always exposing correctly for peoples faces.
*Remember if you are shooting in to the sunlight even though you are using the spot meter to get the exposure on the faces right… it may blow out the background of your photo. This may or may not matter depending on the effect you’re going for.
Conclusion
Natural light I personally think produces some of the best results in the way of lighting for your photography (though I am someone who still doesn’t have a complete understanding of using flash on and off the camera) and there’s so much more to it than just minimising shadows. Depending on your style and the mood you’re trying to create with your photography shadows can actually be something you want to introduce in to your photography, which I plan to cover in future posts. I hope these few tips will help you improve how you utilise natural light as much as they helped me.
Don’t forget to sign up to the Photography Obsessed newsletter below for more great tips!


Leave a Comment