5 Photography secrets beginners wish they knew earlier
5 secrets you will wish you knew earlier. Most photography beginners learn when we first pick up a camera about composition i.e. Rule of thirds, leading lines etc. Unfortunately I missed out on learning it because I taught myself. I didn’t learn about these things until much later down the track, but because I watched a lot of movies and work in TV I took a lot of influence from cinematographers and directors. Here are some tips I wish I knew when I was starting out that would have improved my photography skills much faster.
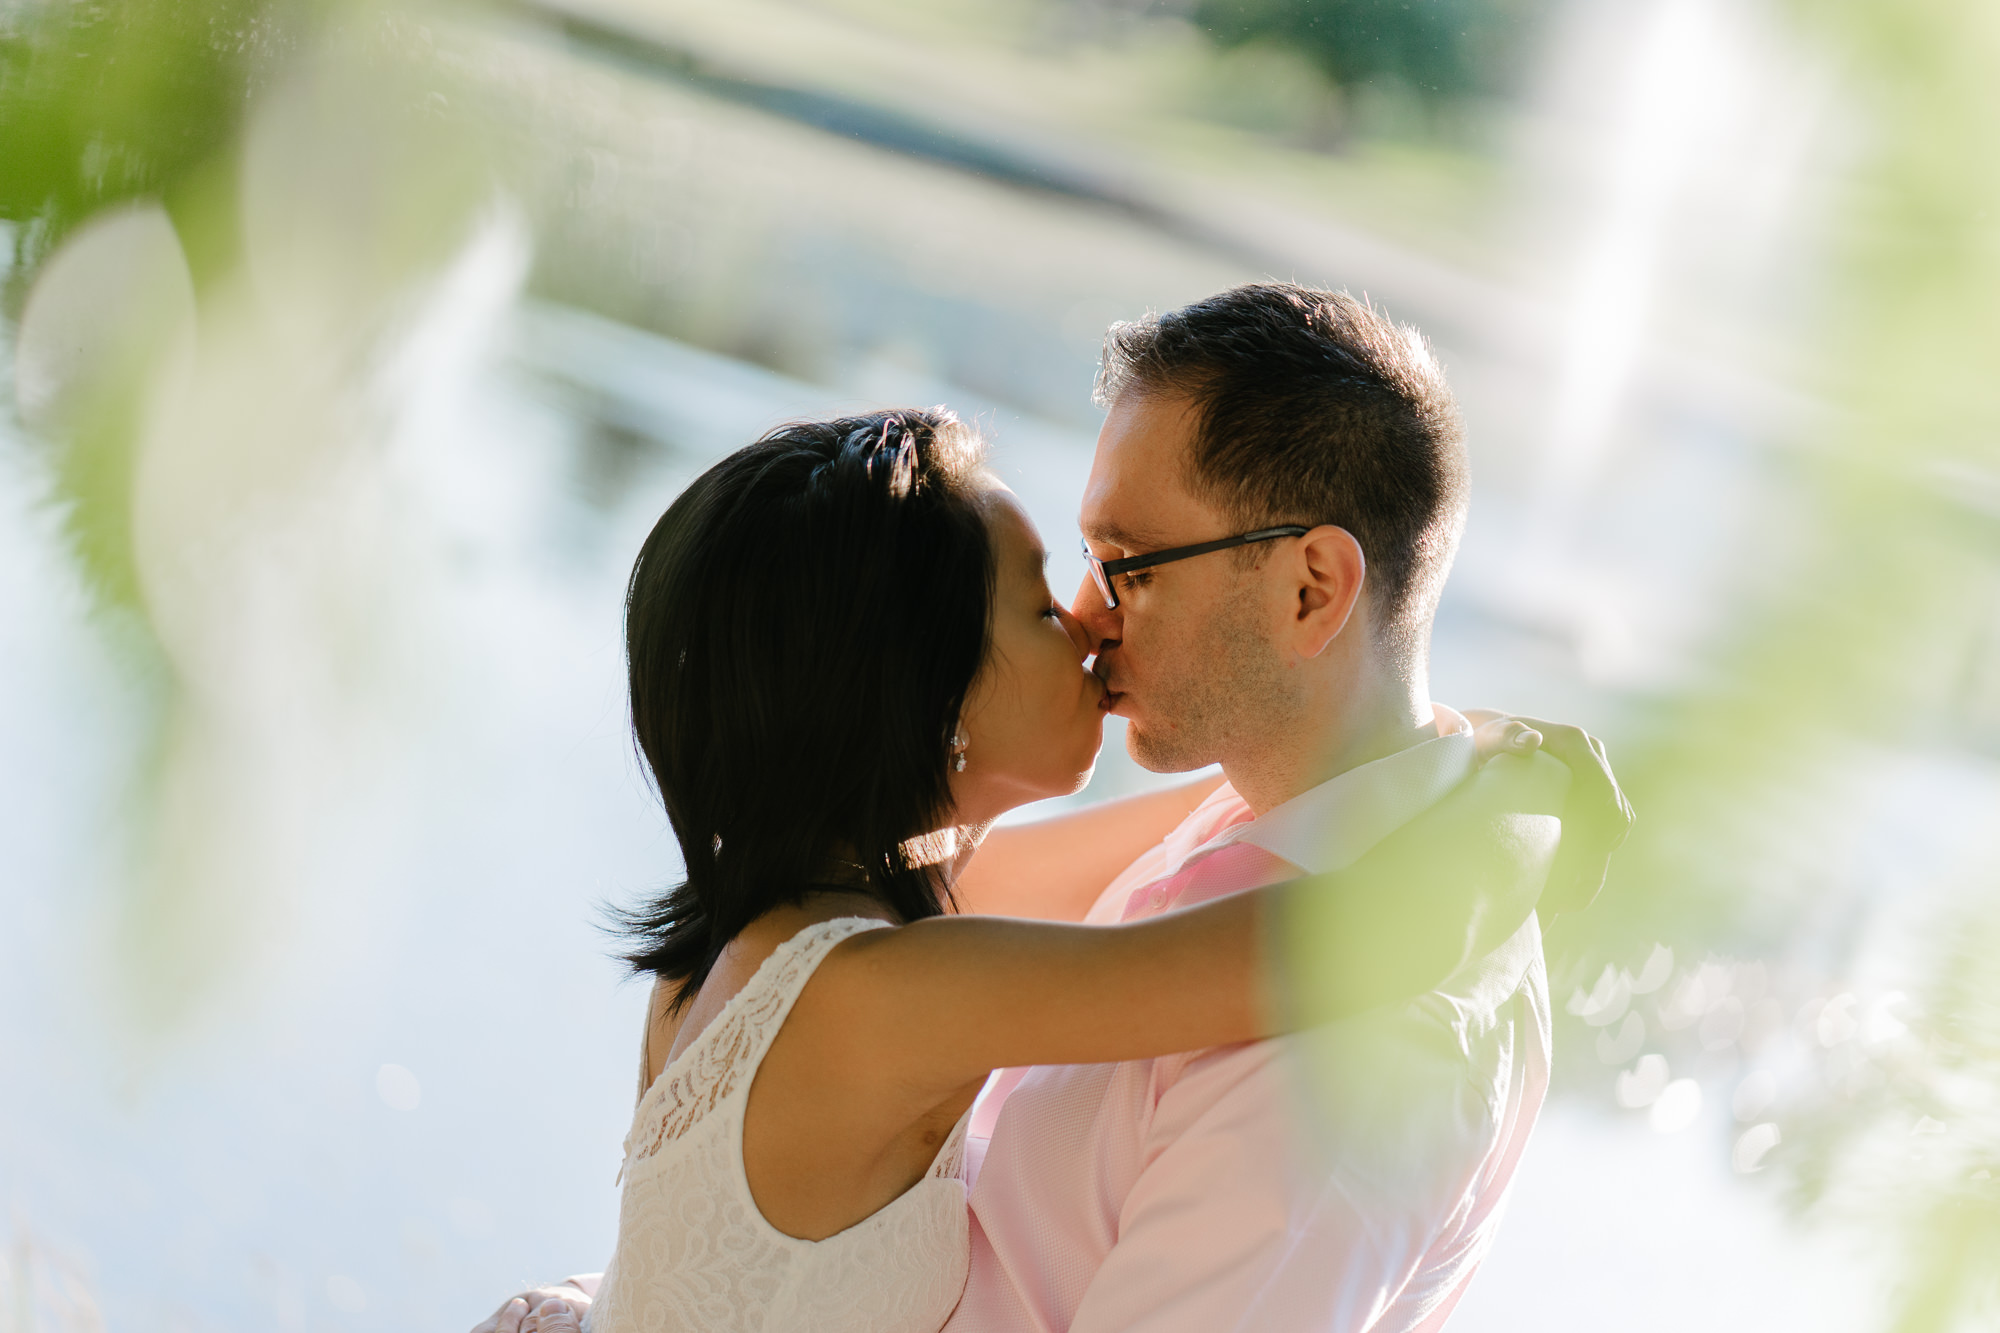
Foreground
This can take an everyday nice photo and turn it in to something beautiful. I remember once directing a scene to promote a new show and we only had a small budget for extras, but needed it to look like a lot of people in the scene.
When we framed the shot our crowd looked very small. It wasn’t good enough… how could we keep it looking big and expensive looking with such a small number of people? That’s when the DOP had the great idea of using a couple of champagne glasses just on the edge of frame close to the lens.
We had lights behind the talent pointing at the lens, so the end result was crowd either side of frame and the glasses created a light blurred edge of frame which gave the whole scene this dreamy feel. With the small addition of a couple of cheap champagne glasses in the foreground it just transformed the shot and made it feel a million dollars.
Point of the story being, next time you are taking photos and they feel like they need that little bit extra… try pulling the edge of a tree branch in to shot, or frame in the edge of a glass sitting on the table in front of you. Trust me it will bring in a whole new feel of depth and draw you in to your subject.
*Try not to use dark foreground elements. They will just look like black blobs, or you’ve accidentally put your finger over the lens.
Negative space
Filling the frame with your subject is common and generally works well, especially when you’re starting out and are addicted to that blurry background. It can however start to get a bit boring and you find yourself wanting more than just a smiling head, so take a few steps back. Maybe even drop down a bit lower, and put your subjects head and shoulders in the bottom corner of the frame. You could also try having your subject against an interesting wall.
As long as the space around them remains relatively free of busyness you should be able to produce some interesting shots. keeping your subject the main focus of the photo, while almost enhancing that focus with the space surrounding them.
Some of my favourite shots I’ve taken have used this method, and a lot of the time they were just on my iPhone which forced me to think different because I didn’t have that shallow depth of field to get me out of trouble.
*It takes a bit of trial and error to get this right. It won’t always work on every angle. I always remind myself – If I’m trying to convince myself the picture is good, it probably isn’t so try again.

centre frame can be good
A lot of photographers may advise to steer clear of centre frame when composing your photo and that is pretty right most of the time. Generally when you have your subject in the left, or right side of the frame it is more visually appealing, but positioning your subject centre frame can give the photo a whole different feel… especially when you are shooting at a wider focal length.
It may be just my own personal taste, but for some reason I love a nice wide photo with the subject centre frame. I feel like it gives the photo more scale or something.

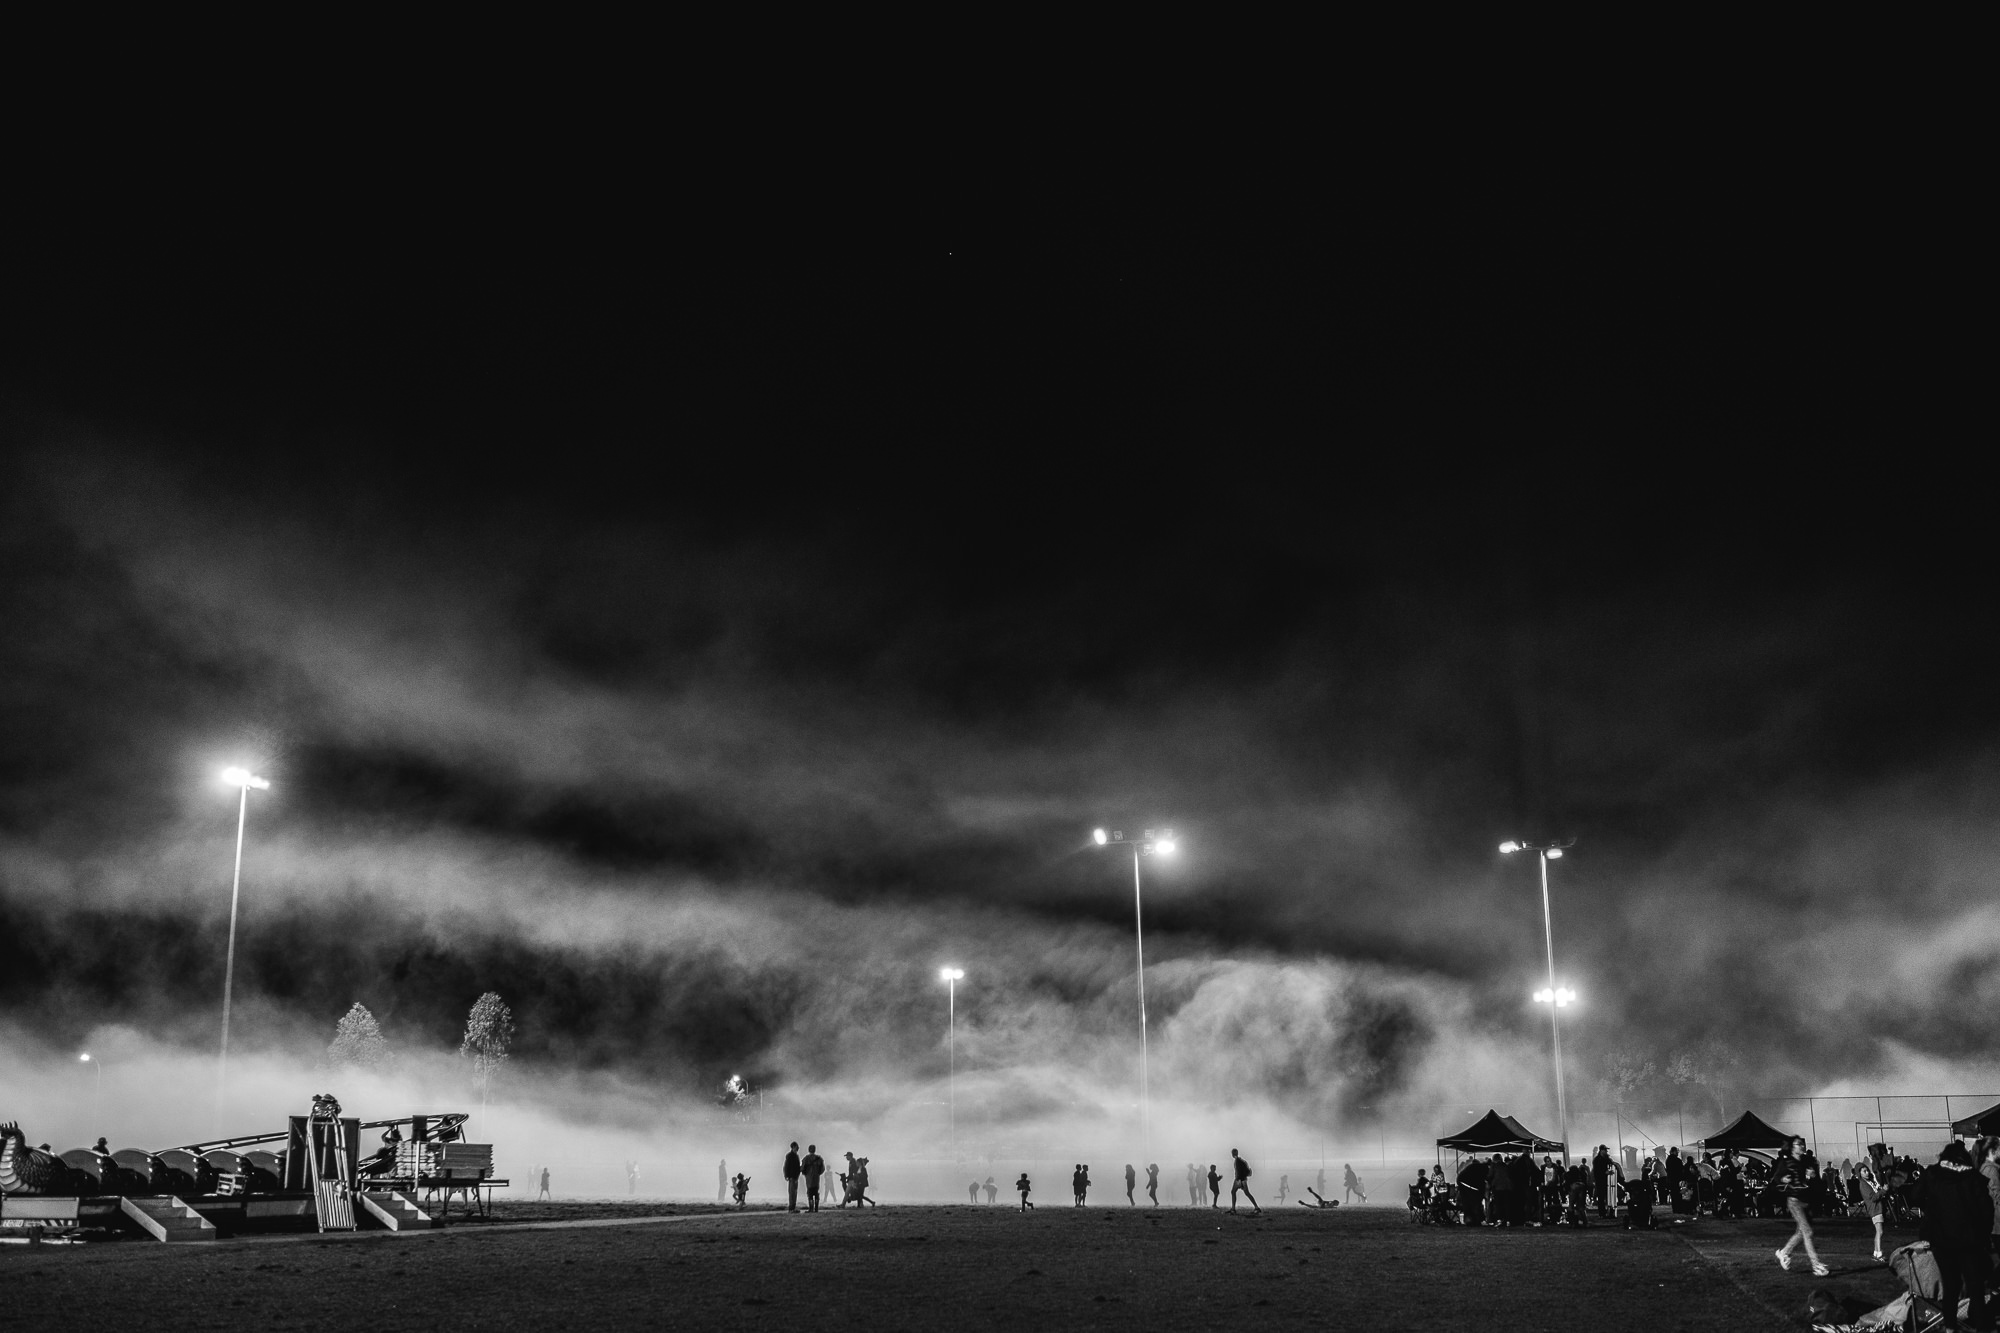
stop and observe – be in the moment
One of the most valuable lessons I have learnt in photography (and life for that matter) is to slow down and observe what is happening around you. I don’t just mean look around you, I mean really be in the moment. See and feel everything that is going on. Who are the people sitting across from you in the park? What’s their story? How in (or out of) love are they? Really take in what people are feeling and their body language and compose your shot based on that.
One of the biggest realisations you will have as you become a better photographer is that you will start to see the world differently. You will notice the way light falls on an object and the way shadows set a mood. Your eyes will stop just looking around and start actually seeing the beauty in everyday situations. It really is amazing when it starts to happen and it’s something I am very thankful to be able to experience.
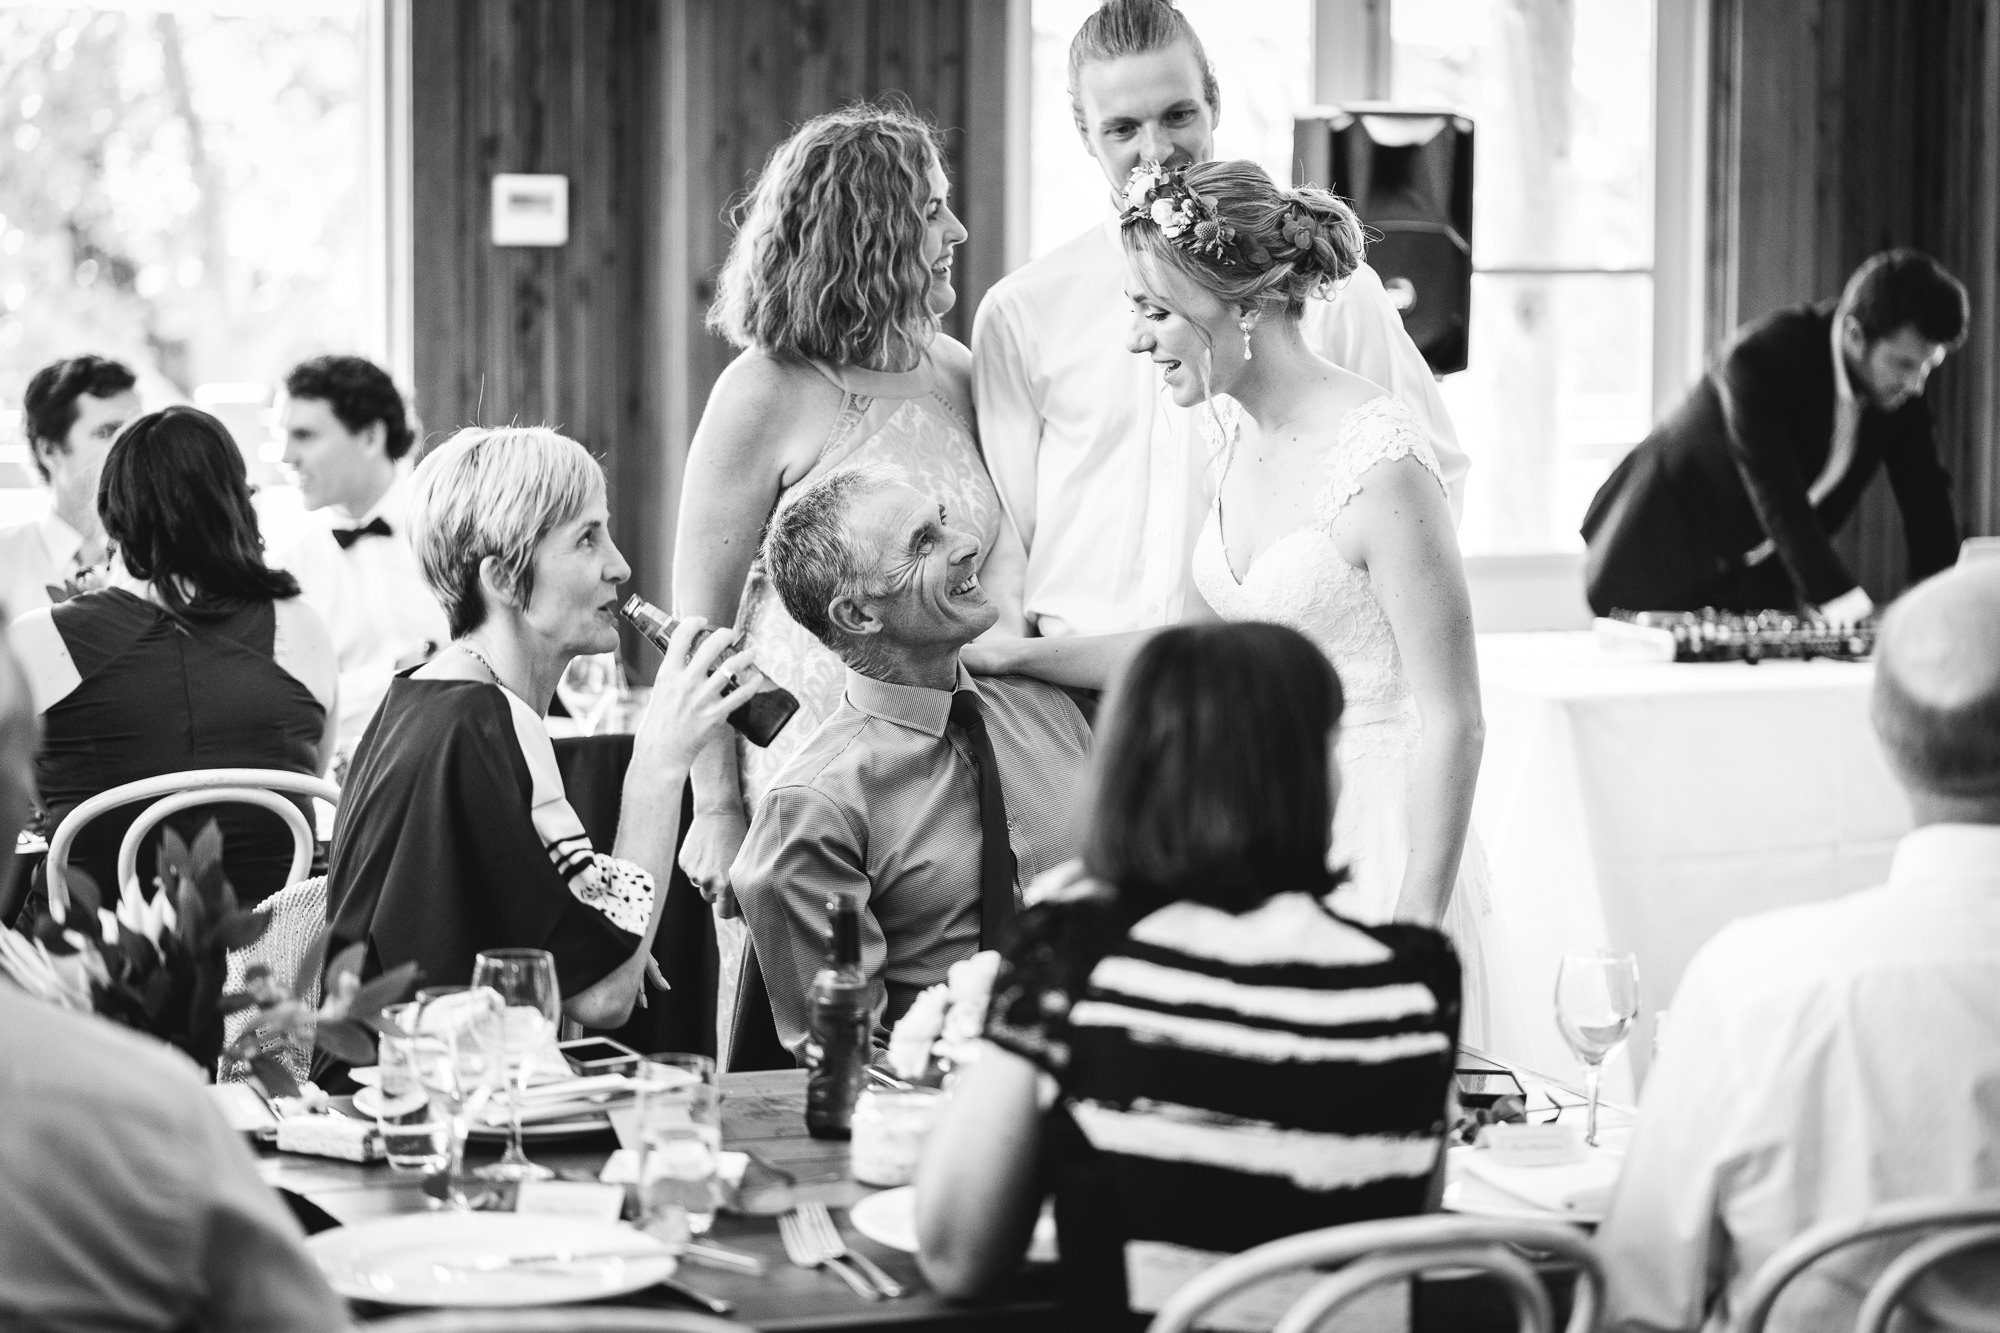
Look beyond the obvious
The most common place for people to take their camera is to big events, and the most common photographs are generally of whatever is happening at the event. My challenge to you though is next time you take your camera to a parade, or fireworks etc is instead of photographing the same thing everyone else is… Turn around and see what is happening in the crowd.
What’s happening under the fireworks? What does the scene look like when the fireworks are over and the crowd is dispersing. Maybe you’re photographing a wedding ceremony. You got the ring exchange, now turn around and get that shot of mum wiping a tear from her face, or dad’s proud smile.
These are usually the more interesting moments and the ones that not many think of photographing. You will find they will probably end up being your favourite photos.
Conclusion
There is an endless list of tips and tricks when it comes to mastering your photography and the truth is you will be forever learning. These are just a few that have really helped me take my photography to the next level that I wish I had known sooner. Luckily you won’t have to wait as long as I did to find them out.
Remember to sign up to the Photography Obsessed email list so you can be notified whenever new awesome tips are posted.


Leave a Comment